

Building Ellet Rams
- Mike at SBS
- Aug 2, 2020
- 4 min read

Updated: Dec 28, 2021

After the City-class ironclads, I moved on to the Ellet rams. These were a bit tricky to build. Owing to the civilian origins of Ellet's rams, there's no real plan views for these ships. So to make them I had to resort to drafting my own plans based on photos, etchings, and illustrations. I've made a PDF of the plans in case any readers out there might find them useful: Pook's Turtles and Ellet Rams Plans (1/600)...
In the end, I drew up four versions of the Ellet rams. I knew that I wanted to make some civilian versions as well to use as transports. So the plan was to make five of each, two for military use and three as civilian boats.
I've kept the tutorial light here, but if you want to know my building process have a look at my Dreadnought project. The principles and processes are the same.
USS Queen of the West
I started with the plans based on the USS Queen of the West, Ellet's flagship during the Battle of Memphis.

The first step was to build the decks and number them. Every other deck (2 and 4) are 2mm smaller than the others (1, 3, and 5). Once stacked this will give the impression of various decks.

Then I cut out the hull, built gun casemates (using the same gunport technique as I used on USS Minnesota), and cut out blocks for the paddle wheel house. These were the basic components for the hull, sans smoke stacks.

I then added smoke stacks and pilot houses.

I felt the paddle wheel housings were too narrow, so I bulked them up with another layer on the sides. I also fitted rams to the military versions. I also reserved a third military version for the captured version (USS Queen of the West was later captured and pressed into Confederate service). This left two for civilian duty and I rounded their bows.
USS Switzerland

Built generally the same as above, the Switzerland had a funny triangular bow.

The Switzerlands came together relatively fast since they didn't have a casemate for the guns. I also added the steps up to the "Texas Deck".
USS Monarch & Lancaster (?)
There's precious few illustrations of the Monarch and Lancaster. Sources have mentioned that they were very similar ships and so I took an engraving of the Monarch and attempted to design plans for both ships accordingly. I can't confirm how accurate it ended up, but until I can find better plans/sources, this will do.
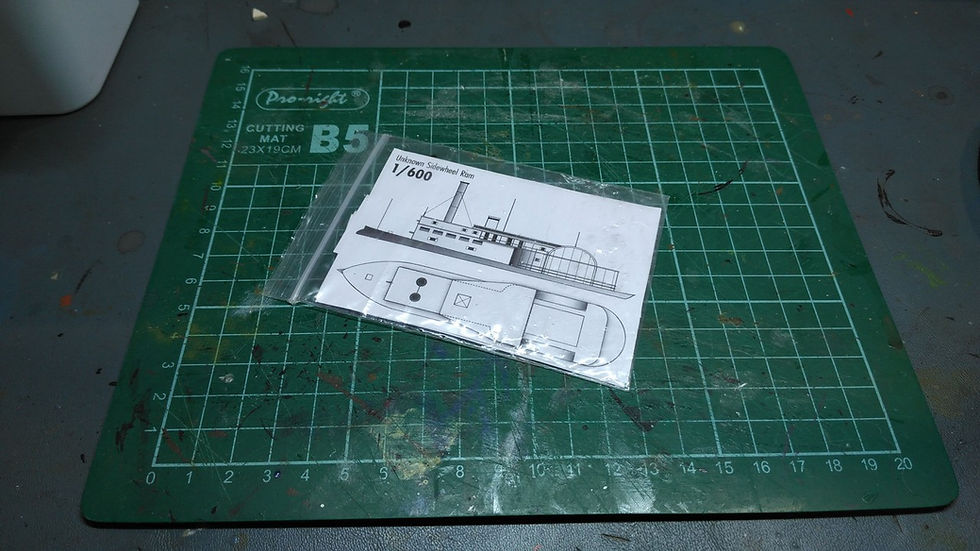
I'm using the "Unknown Sidewheel Ram" plans for these ones.

Hulls are cut first. The sidewheel housing sticks out from the hull, so this will be a slightly tricky one to build. For simplicity and strength of construction, I went with a straight hull and will build the sponsoned housing later.

I hit a patch of wood that was super soft and tore out divots when I cut the end. So I filled the divots with scrap wood and glued it together.

I then carefully sliced off the protrusions and then sanded it flush. Problem solved! This is a really easy way to repair scrapes, nicks, and divots in balsa.

Once all the pieces were cut I made sure none were missing. The paddlewheel housing was going to be complicated, so I make sure that I had all the necessary pieces. Here's how I intended to tackle the bulgy stern section.

This is the dry fit of all the pieces, just to make sure there's nothing missing.

Next up was to sand all the pieces of the kit.

Here, I've assembled the bulk of the hull. I've added some small pieces of balsa next to the paddlewheel housing to complete the waterline deck's outline.

I've added smokestacks and also placed the pilot houses in various spots to help break up the profile a bit.

The fleet so far.
USS Lioness

I was really keen to do a sternwheeler, so I put the Lioness on the table at the end as a treat. The paddle was going to be the most challenging, so I did that first. It's just a piece of bamboo rod with small strips of plasticard as paddles. My ships are all about abstraction of detail, so I'll paint these black and then paint the paddle's slats and rods to make it look more realistic. You could definitely add more detail than I did if that's what you're after.

I first glued three paddles to each rod in a T shape. I then added two diagonal paddles in between them. This helps make sure the distribution between the paddles looks even. I also kept the "bottom" of the wheel free of paddles. This will give the boat's wheel the appearance of dropping below the waterline.

Next up was to build the hull. It was the simplest yet, with just a box shape.

I added some arms to grab the paddles, a splash board at the rear, and smoke stacks.

Finally I added rams and some pilot houses, again randomly placing them to mix up the profiles a bit.

I usually paint an entire class once it's done to production line the paint job, but in this case I pressed on to complete all the rams and their civilian versions. Once done, I'll divide the rams into 4 painting waves, each with one version of each boat. I'll then paint all of those in similar colors to streamline the process.

I started painting the first batch of civilian boats to get the details sorted for each class. I used the same painting techniques as my Dreadnoughts. The paints I used were all Vallejo, with the upper works in Deck Tan, the middle band in Sky Grey, the top decks were painted in Vallejo Cruiser Green, the wooden decks were Green Ochre (using the decking technique linked above) and the smoke stacks in Gunmetal Grey.

Completed with paint and pen.

Finished, with masts and added to the fleet!


Comments